

How do I replace a temperature gauge?
May 19, 2026
Replacing a temperature gauge can seem like a daunting task, but with the right guidance and tools, it can be a straightforward process. As a trusted temperature gauge supplier, I've helped numerous customers navigate this repair, and I'm here to share my expertise. In this blog post, I'll walk you through the steps of replacing a temperature gauge, from identifying the problem to completing the installation.
Step 1: Identify the Problem
Before you start replacing the temperature gauge, you need to confirm that it's actually the gauge that's malfunctioning. There are several signs that your temperature gauge may be faulty:
- Inaccurate Readings: If the gauge shows a temperature that's significantly different from what you expect or what other gauges indicate, it could be a sign of a problem.
- Stuck Needle: A needle that remains stuck in one position, regardless of the actual temperature, is a clear indication of a malfunction.
- Erratic Readings: Fluctuating or inconsistent readings can also signal a problem with the temperature gauge.
If you notice any of these symptoms, it's time to start the replacement process.

Step 2: Gather the Necessary Tools and Materials
Once you've confirmed that the temperature gauge needs to be replaced, you'll need to gather the following tools and materials:
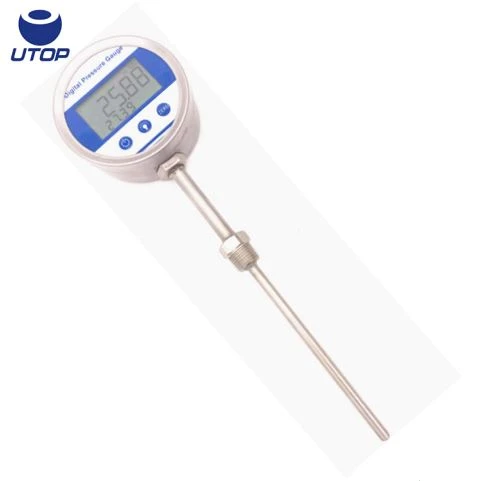
- New Temperature Gauge: Make sure to choose a gauge that's compatible with your vehicle or equipment. You can find a wide range of temperature gauges on our website, including Water Digital Temperature Gauge, Digital Temperature Gauge, and Oil Temperature Gauge.
- Socket Wrench Set: You'll need a socket wrench to remove the bolts or nuts that hold the gauge in place.
- Screwdriver: A screwdriver may be required to remove any screws or clips that secure the gauge.
- Electrical Connector Tool: This tool is used to disconnect and reconnect the electrical connectors on the gauge.
- Sealant: Depending on the type of gauge and the application, you may need a sealant to prevent leaks.
Step 3: Disconnect the Power Source
Before you start working on the temperature gauge, it's important to disconnect the power source to avoid any electrical shocks or damage. If you're replacing a gauge in a vehicle, turn off the engine and remove the key from the ignition. If you're working on equipment, unplug it from the power outlet.
Step 4: Remove the Old Temperature Gauge
Once the power source is disconnected, you can start removing the old temperature gauge. Follow these steps:
- Locate the Gauge: The temperature gauge is usually located on the dashboard of a vehicle or on the control panel of equipment.
- Remove the Trim or Cover: In some cases, you may need to remove a trim piece or cover to access the gauge. Use a screwdriver or a trim removal tool to carefully remove the trim or cover.
- Disconnect the Electrical Connectors: Use an electrical connector tool to disconnect the electrical connectors from the back of the gauge. Make sure to note the position of each connector to ensure proper reinstallation.
- Remove the Mounting Bolts or Nuts: Use a socket wrench to remove the bolts or nuts that hold the gauge in place. Keep the bolts or nuts in a safe place to prevent them from getting lost.
- Remove the Gauge: Once the mounting bolts or nuts are removed, carefully pull the gauge out of its housing.
Step 5: Install the New Temperature Gauge
Now that the old temperature gauge has been removed, it's time to install the new one. Follow these steps:
- Insert the New Gauge: Carefully insert the new temperature gauge into the housing. Make sure it's properly aligned and seated.
- Reattach the Mounting Bolts or Nuts: Use a socket wrench to reattach the bolts or nuts that hold the gauge in place. Tighten the bolts or nuts securely, but be careful not to overtighten them.
- Connect the Electrical Connectors: Use an electrical connector tool to reconnect the electrical connectors to the back of the gauge. Make sure each connector is properly seated and secured.
- Apply Sealant (if necessary): If the gauge requires a sealant, apply a thin layer of sealant around the edges of the gauge before installing it. This will help prevent leaks.
- Reinstall the Trim or Cover: Once the gauge is installed, reattach the trim piece or cover. Use a screwdriver or a trim removal tool to carefully reinstall the trim or cover.
Step 6: Reconnect the Power Source
After the new temperature gauge is installed, it's time to reconnect the power source. If you're working on a vehicle, turn on the engine and check the gauge to make sure it's working properly. If you're working on equipment, plug it back into the power outlet and test the gauge.
Step 7: Test the Temperature Gauge
Once the power source is reconnected, it's important to test the temperature gauge to make sure it's functioning correctly. Start the engine or equipment and let it run for a few minutes to allow the temperature to stabilize. Observe the gauge to make sure it's displaying accurate readings. If the gauge is not working properly, double-check the installation and make sure all the connections are secure.
Conclusion
Replacing a temperature gauge is a relatively simple process that can be completed with the right tools and knowledge. By following the steps outlined in this blog post, you can replace a temperature gauge in your vehicle or equipment quickly and easily. If you have any questions or need further assistance, please don't hesitate to contact us. We're a leading temperature gauge supplier, and we're committed to providing our customers with high-quality products and excellent customer service. Whether you're looking for a Water Digital Temperature Gauge, Digital Temperature Gauge, or Oil Temperature Gauge, we have the perfect solution for your needs. Contact us today to discuss your requirements and start the procurement process.
References
- Automotive Repair Manuals
- Manufacturer's Instructions for Temperature Gauges